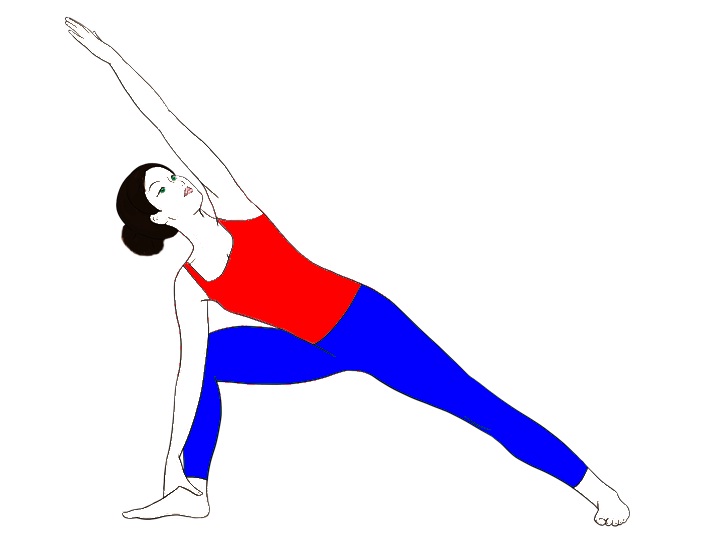
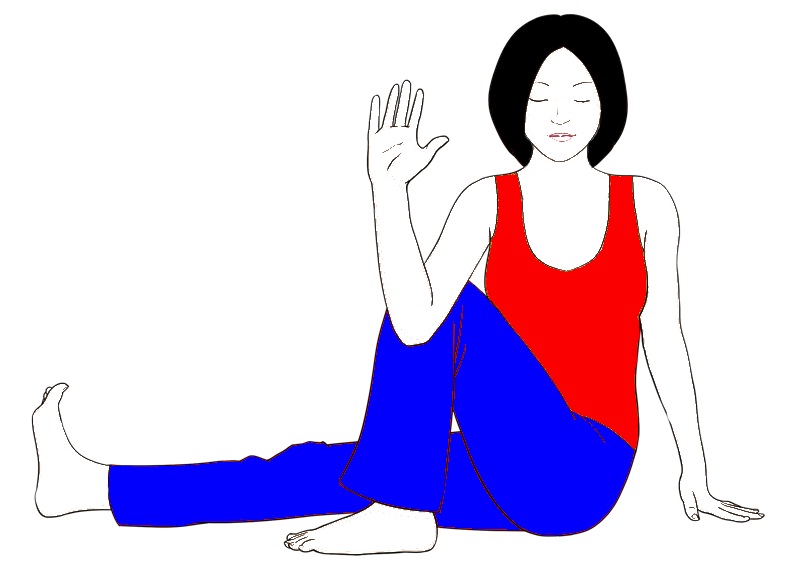
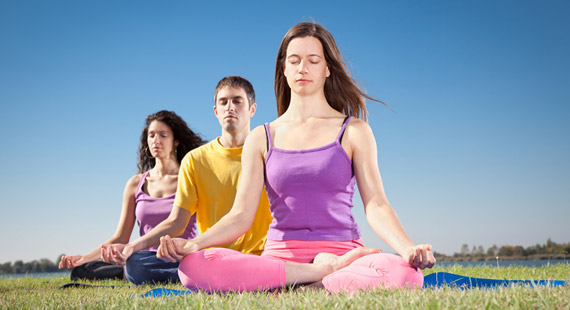
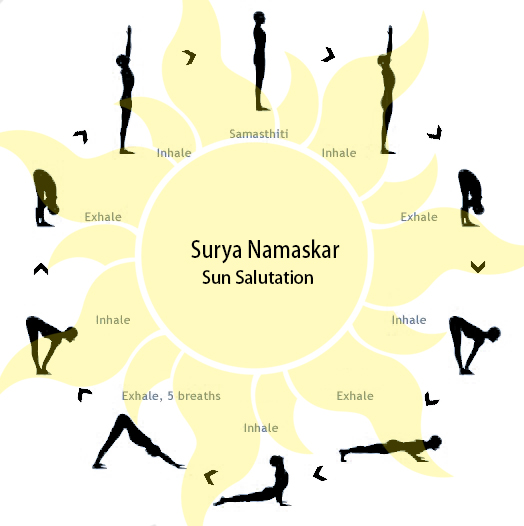
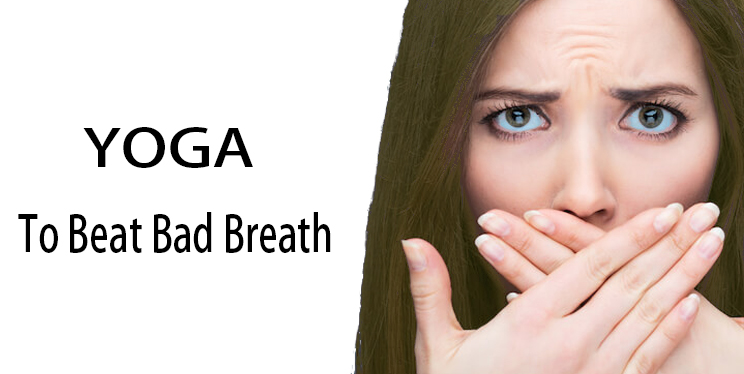
You have heard the word Surya Namaskar so much time and most of you practice Surya Namaskar in your Yoga season. So let’s understand its meaning “Surya” stands for the Sun and you know that the meaning of Namaskar very well its means Salutation. When you search the word Surya Namaskar on the net you find a huge amount of search results (Like steps of Sun Salutation pose, Benefits of Sun Salutation etc). But here we are not discussing these things. In this, we discuss the importance of Surya Namaskar in Yoga. Everybody knows Sun Salutation pose is a 12 step pose. It’s a special gesture to express your respect to the Sun.
Religious Aspect
In the time Sages, They practice this pose at early in the morning in a time of sun rises. And they show their gratitude towards the Sun by performing Surya Namaskar. According to Hindu religion, Sun is worshiped as a God. Coz it’s a real source of energy for all living beings and for nature (photosynthesis). And there is no replacement for Sun and surviving without the energy of the sun is like breathing without air. This is the religious fact; now move on to the scientific Facts of Sun Salutation Pose.
Apart from Hindu religion, there are many other ancient cultures who worship the sun as a God. For example- Roman titled sun as Hyperion/Titan, in Greek Sun is known as the God Helius. Yin – Yang is the Chinese word in which Yang represents the Sun and Yin stands for Moon. Yin – Yang is termed as Ida and Pingala in the Sanskrit. In term of Yoga Ida is Chandra (Moon) Nadi and Pingala knew by Surya (Sun) Nadi (In most simple word left nostril is Ida and right nostril is Pingala that’s it).
Surya namaskar steps
Scientific Facts
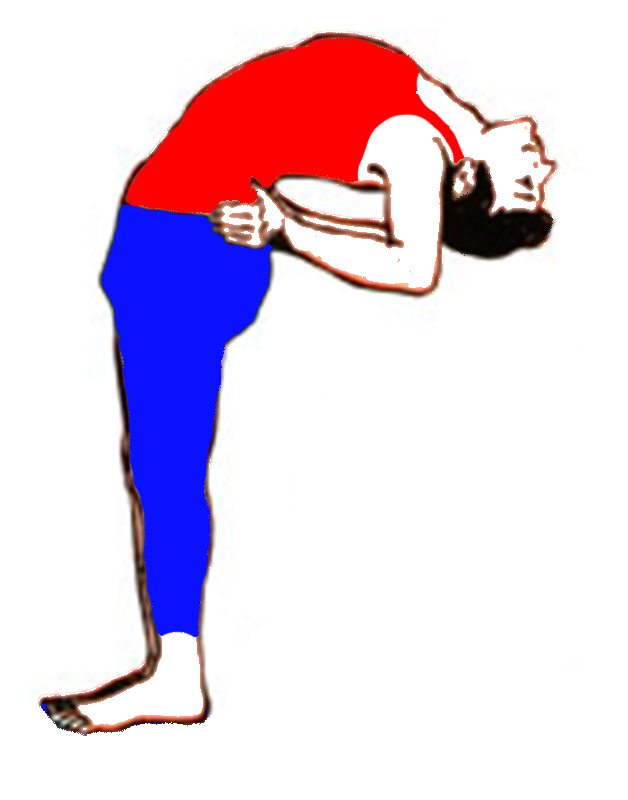
![Importance-of-Surya-Namaskar-Sun-Salutation-Yoga-benefits]() According to Scientific aspects, performing Surya Namaskar is not worshipping the Sun. As per science, the sun is the natural source of energy. The scientist doesn’t admit the Sun as a God. In the morning, the rays of the sun are more beneficial for human beings than other time. When you perform Surya Namaskar in the early morning you got some energy from the sun. And the level of Ultra violet rays is not up to the mark or not enough to harm your skin. As time passes the level of UV rays is increasing. In the early morning and in the evening the sunlight is bearable and not harmful. Surya Namaskar rejuvenates your body, refreshes your mind and gives you the awesome feeling of energy throughout the day. So, that’s the reason, why we perform Surya Namaskar in the morning.
According to Scientific aspects, performing Surya Namaskar is not worshipping the Sun. As per science, the sun is the natural source of energy. The scientist doesn’t admit the Sun as a God. In the morning, the rays of the sun are more beneficial for human beings than other time. When you perform Surya Namaskar in the early morning you got some energy from the sun. And the level of Ultra violet rays is not up to the mark or not enough to harm your skin. As time passes the level of UV rays is increasing. In the early morning and in the evening the sunlight is bearable and not harmful. Surya Namaskar rejuvenates your body, refreshes your mind and gives you the awesome feeling of energy throughout the day. So, that’s the reason, why we perform Surya Namaskar in the morning.
But our main focus is on describing the importance of Surya Namaskar in Yoga. It is very essential to know what is the Importance of Surya Namaskar in Yoga Pose.
Why is Surya Namaskar so important in Yoga?
You’ll find this answer below when you go through the importance or uniqueness of Surya Namaskar.
Importance of Sun Salutation Pose
-
Best Calories Burner
Practicing of Surya Namaskar just for 20 to 30 minutes without any interruption gives you the benefits 288 power packed yoga poses. Even single round of Sun Salutation pose results you to burn about 13.9 to 14 calories. If you don’t want to perform other Asana, just attempt Surya Namaskar, and see the magic.
Have a look at how many calories you burn in different activities and in Surya Namaskar only in half an hour.
Running is the most common physical activity which most of the people prefer running for their health. So first, we start with Running, if you run (7.5mph) for 30 minutes you burn 414 calories. Running is the simple and best physical activity for burning calories as well as it’s a simple but most effective formulae way to stay fit.
-
Playing Football for 30 minutes
Football is the world famous sports, and now a day’s whole world enjoying the football world cup. Apart from a sport, football is a great calorie burner. If someone plays football only for 30 or 45 minutes then he/she will lose 298 to 300 calories. So, let’s play football.
If you enjoy cycling (14 to 16 mph), then here is good news for you. Cycling or bicycling reduces 331 calories from your body. Why you are waiting just to take your cycle and go for a long drive.
What about weightlifting? Our weightlifter friend burns about 199 to 200 calories during the performance of weightlifting. But somewhere down the line, weightlifting is not suitable for all comparison to Surya Namaskar.
Tennis is one of the favorites and famous sports all around the globe. Half an hour game of tennis burns your around 240 calories. In this game, the involvement of your eye, hands and legs movement is very important.
Rock climbing is one of the most difficult activities, only half an hour climbing burst your about 370 calories. But don’t try rock climbing without the proper guidance; it is a very toughest activity and needs years of practice.
-
Surya Namaskar (Sun Salutation)
Surely, you’re amazed when you know the fact that half an hour of proper practice of Surya Namaskar destroyed your about 417 calories. But for this, you’ve to perform and follow the instructions carefully. Along with it needs the proper guidance of an expert Yoga teacher. The burning of calories depends may vary according to the weight of the practitioner.
-
Surya Namaskar is the best Aerobic tool
Sun salutation pose is also famous for its cardiovascular workout. Many critics concern that Surya Namaskar does not give ample amount of cardiovascular endurance. That is totally wrong; including cardiovascular benefits, it also is known for giving least injuries to your joints as well as joints also. The practice of Surya Namaskar also balances your hormone for your good health.
For steps and other benefits click: Surya Namaskar steps
-
Breathing Process
Third importance or uniqueness of Surya Namaskar is working of breath. It contracts & expands your chest which helps in controlling and deepening your breath throughout the process. As a newcomer, it’s tough to sync your breath with the body posture. But the daily performance of Sun salutation pose gives you the awesome way to learn how you can synchronize your breath with your posture. You also learn when to inhale, exhale and retain your breath during the practice. The systematic breathing process of Surya Namaskar gives amazing quality to your breath. This will results you a healthy body and mind.
-
Gives you the perception of body awareness
Generally, you’re not aware of your body throughout the time. The sense of body awareness is the most essential part. Surya Namaskar boosts the sense of your body awareness and upgrades your life. If we would be sensitive regarding our body posture or discomfort then we easily identify the general diseases.
-
Awesome energetic Pose
Sun Salutation pose is the best combination of best relaxation skill & stimulation by this it gives you energetic feeling throughout the day. One of the most essential benefits of this pose is, it balances the three impurities known as Tri Dosha’s in Sanskrit (Vaata, Pitta, Kapha). Human beings have both relaxation response and stress response. But we don’t know enough knowledge to control over them. Sun Salutation pose gives you a voluntary control over the involuntary limit of human personality and physiology also.
-
Gives you the perception of mindfulness
In today’s fashion and the d gadget-loving busy world. Most of the people do things mindlessly; learning something new becomes mechanical after that we are mindless about it. As we mentioned earlier this pose improves the sense of body awareness this will automatically lead to good mindfulness. Surya Namaskar daily practice tremendously gives the capacity of mindfulness in everything you do. When someone is mindful, he/she commits less fault and you overcome you’ll be able to control the reactions of emotion.
-
Sun Salutation Changes your Social behavior
Sun Salutation Pose improves your consciousness, and a mindful person is more aware of the feelings of other’s People. Thus, it shows more kindness, humanity, and empathy. Daily practice of Sun Salutation not only helps someone (individual) with his/her health but benefits the whole society by moving people towards a more peaceful and healthy life.
-
Overall Physiological Benefits
Systematic practice of different steps in Surya Namaskar benefits you by making your muscles and joints flexible in a very short span. It stretched your abdominal muscles and improves the function of your body organs. Removes anxiety, tension, and stress from your mind. Along with it relax your mind, body, and soul. Surya Namaskar involves forward and backbends this will gives positive effect to your back. This Asana also improves your immunity and flexibility in your spine. Maintains and balance the level of Tri-dosha. You noticed the benefits of Sun salutation to your all body parts (top to bottom or head to toe benefits).
- Sun Salutation is the most powerful Asana having lots of amazing plus points.
- Surya Namaskar directly targets your liver, throat, chest, legs, and stomach means it benefits your whole body.
- Surya Namaskar also boosts and improves the circulation of blood throughout your body.
- Proper circulation of oxygenated blood means well functioning of the stomach, bowels movement and nervous system.
- If you add Surya Namaskar to your everyday routine, it ensures you to balance the level of Vata, Pitta, and Kapha. When these are in the level automatically your body is free from general diseases.
-
Spiritual importance of Surya Namaskar in Yoga
- Because of a beautiful mixture of repetitive steps and variability, it gives you self- motivated practice without feeling bored. It gives individual’s to ample time for self-actualization.
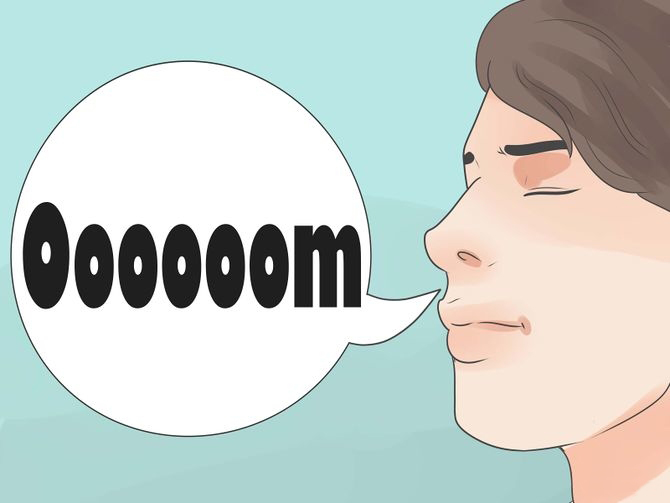
- Remember one thing; always perform Surya Namaskar with mantras. When you add mantras to the routine of Sun Salutation Pose. It removes dullness, creates a pleasing effect.
- Mantras create soothing vibrations, which helps to remove fatigue and calms your mind.
- Mantras give positive effects to your different Chakras, that gives the spiritual benefits to the Practitioner’s who looks to grow in spiritual practice or sadhana.
- The first step of Surya Namaskar is Namaste pose and poses like eight limb pose builds modesty along with it kicks out overconfidence or self-binding ego in the learner.
- A salute to the sun is the divinity in nature and it permits the learner to practice with more devotion (Bhakti & Shraddha). Assuming the energy of the sun in our heart produce a wholeness and gives the sense of peace.
Apart from that, here are some interesting facts about Surya Namaskar which are given below.
Amazing & interesting points of Surya Namaskar in Yoga
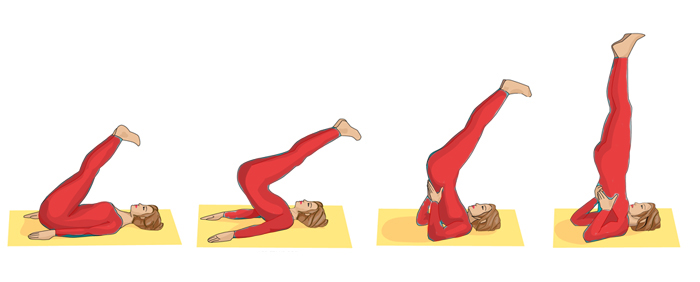
- If we ask you a simple question, how many steps are in the Surya Namaskar? Yes! Most of you are correct. And the answer that is wondering in your mind, Surya Namaskar is the sets of 12 steps.
- So in this what’s the interesting fact about this? If we look deeply, somewhere down the line Surya Namaskar is not a single Asana; it is the combination or mixture of 7 poses.
- By this, there are 7 steps in the Surya Namaskar and rest of the steps is the repetition for the returning in the Position. If we perform only seven steps, the one round is not complete, when we repeat the same steps again then one round of Sun Salutation is complete. From here everybody counts the 7 first steps+ 5 repetition steps total 12 steps. So, that’s why everybody says Sun Salutation consists of 12 steps and it is correct.
- If someone asks you the same question, be with the first option (12 steps).
What are the different Asana or poses which is performed in the Practice of Surya Namaskar?
-
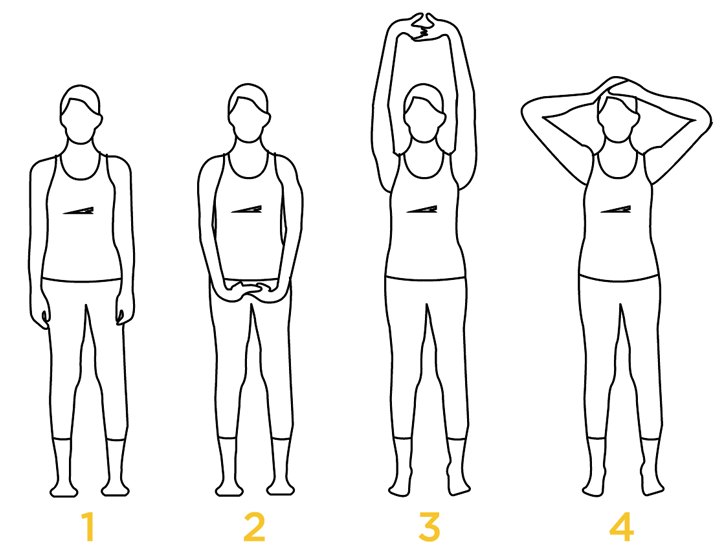
The Prayer Pose (Pranamasana)
It is the first step when you are in the position of Namaskar or your hands in the gesture of Salutation. Keep your spine erect, place your feet close to each other.
-
The Raised Arms Pose (Hasta Uttanasana)
Hasta Uttanasana is the second position of Surya Namaskar, in which you have to raise your hands beyond our head. Along with you have to perform backbend in this step. Bend as much as you can, don’t cross your capabilities because it causes serious injuries.
-
Hand to Foot Pose (Pada Hastasana)
In the third step, the forward bend takes place and it needs the flexibility of your legs muscles for touching the hand to your foot.
For steps and benefits click: Pada Hastasana
-
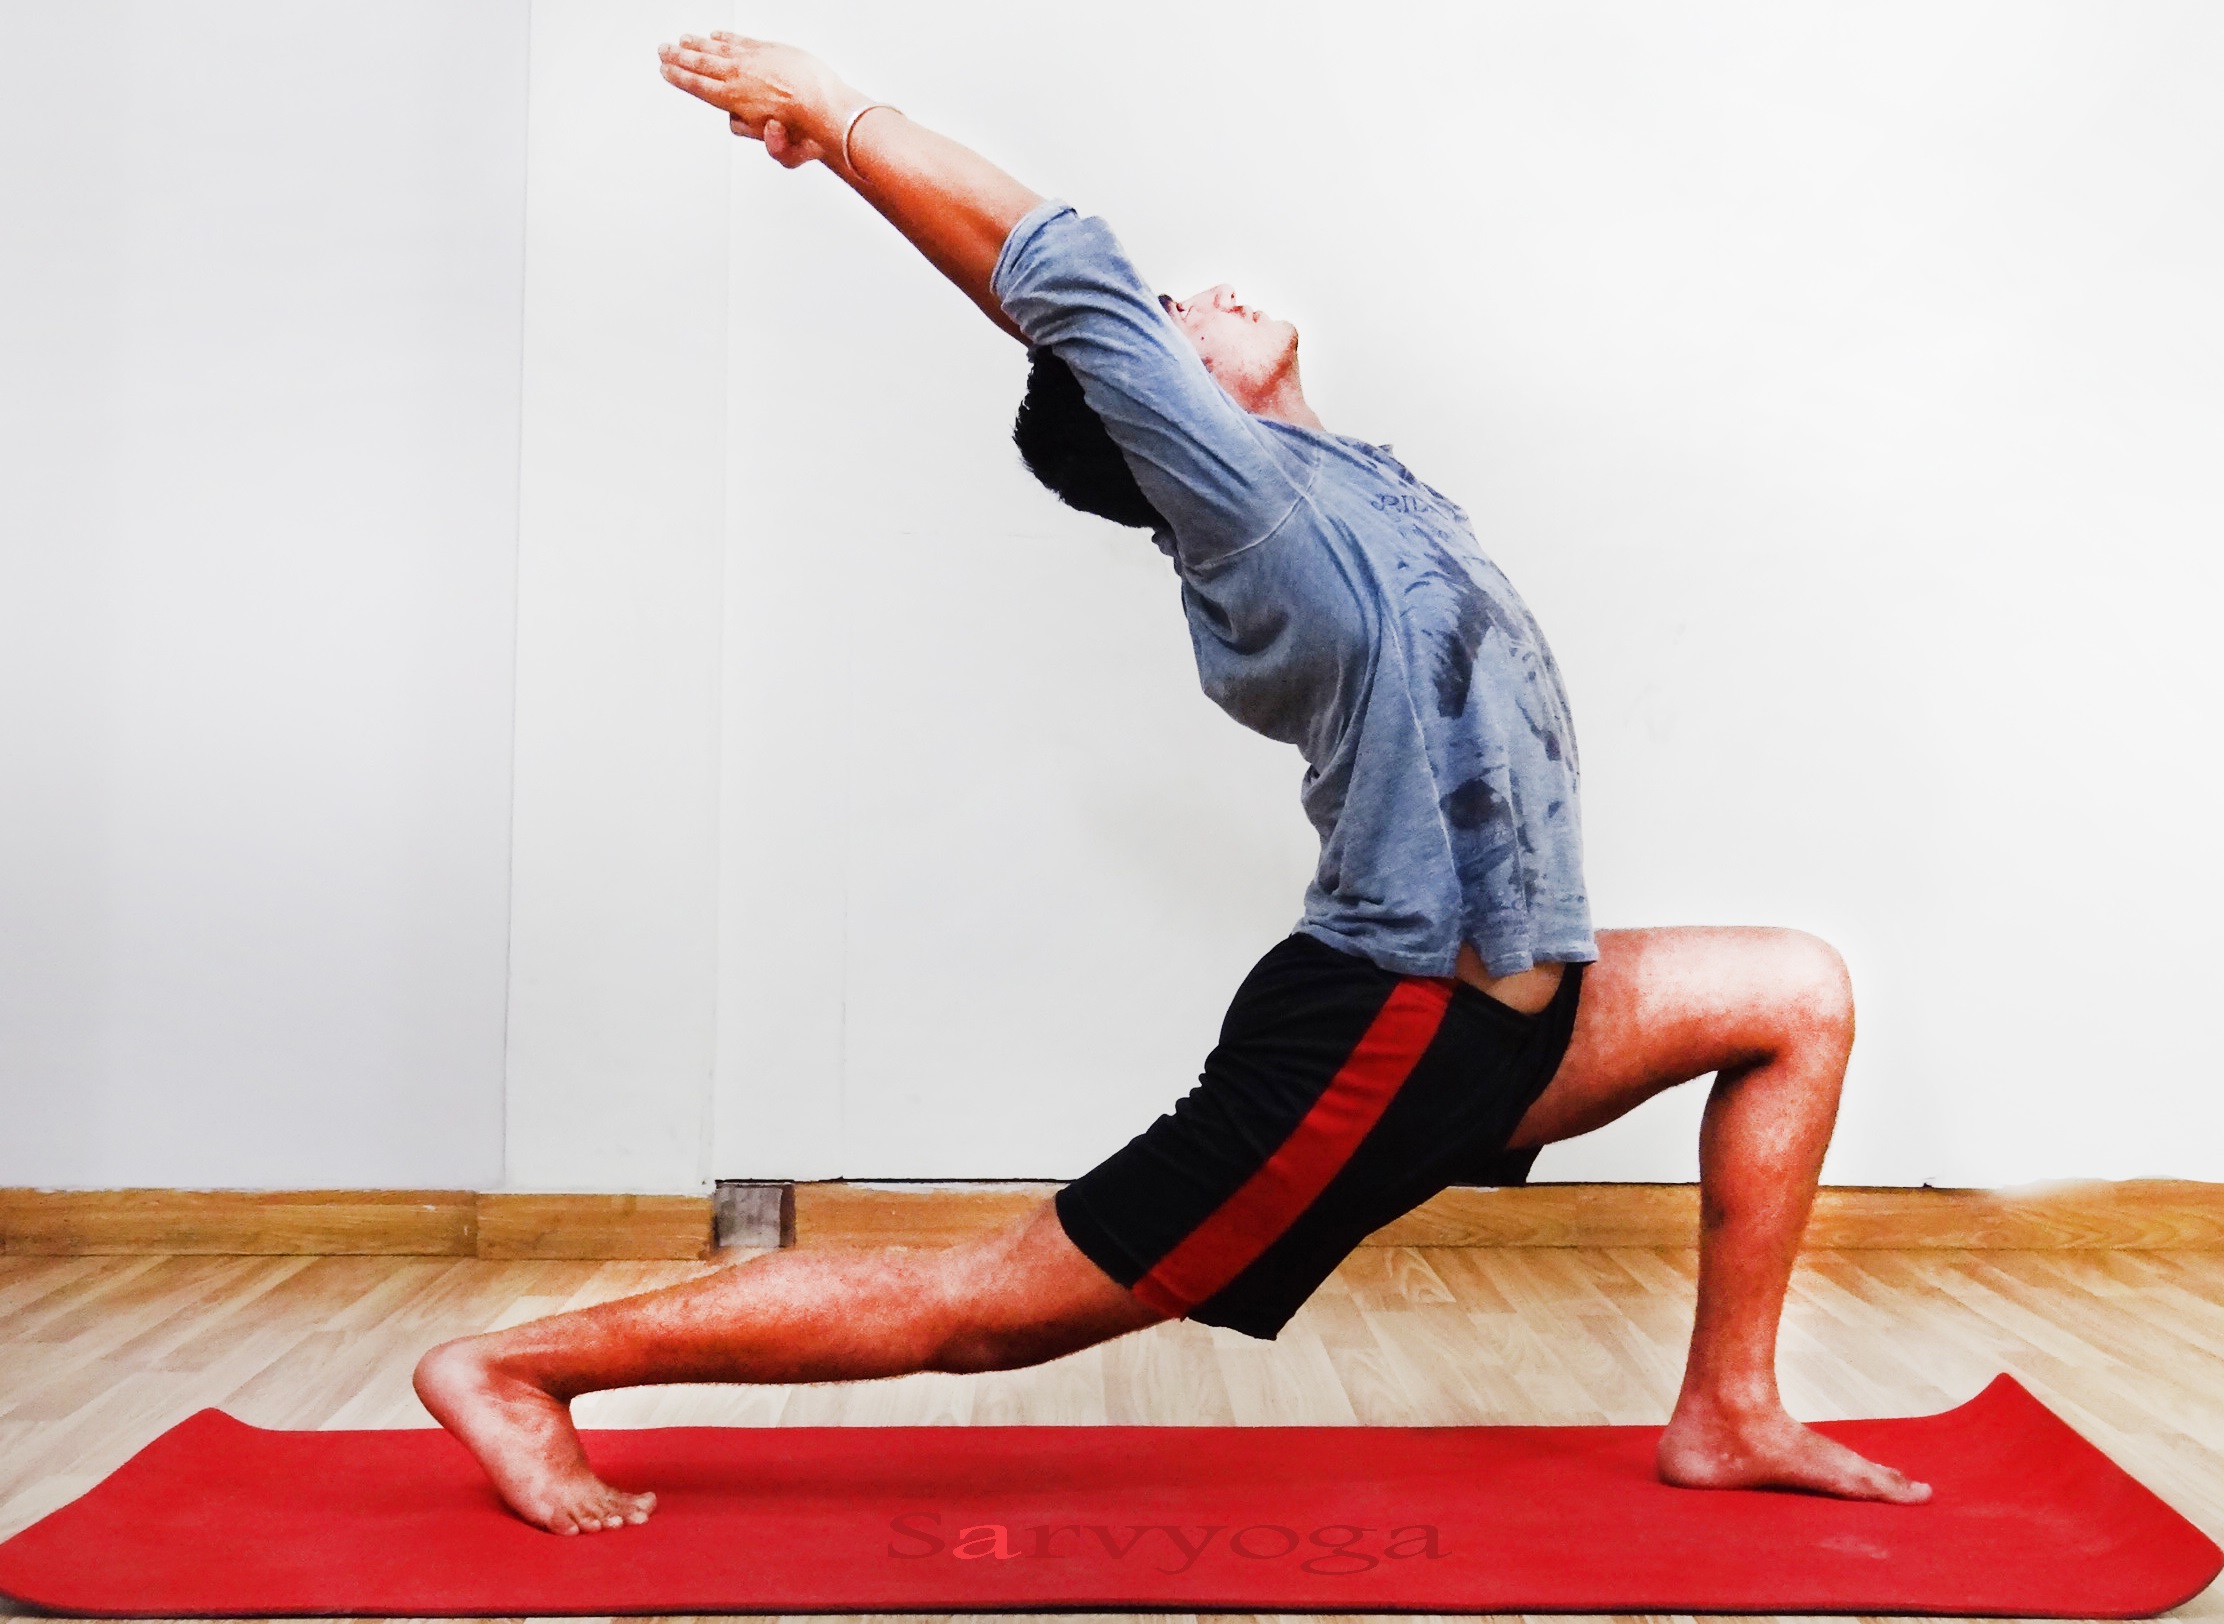
The Equestrian Pose (Ashwa Sanchalanasana)
This pose holds the fourth steps; this pose is also known as runners pose. In step 4 you have to inhale and keep your left leg towards back direction with bending right knee. At this position set your eyes in the forward direction.
For Steps click: The Equestrian Pose
-
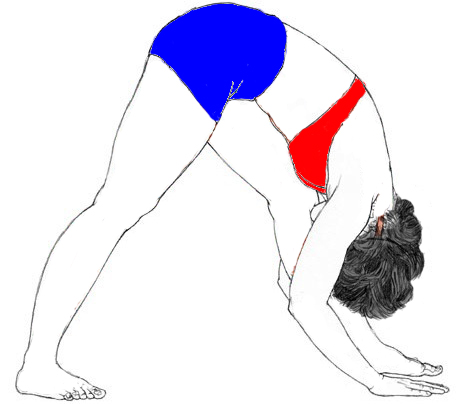
The Downward Facing Dog Pose
Lift your tailbone and hips with an exhalation of breath and at this step, your body looks similar to the inverted “V”.
For steps click: The Downward Facing Dog Pose
-
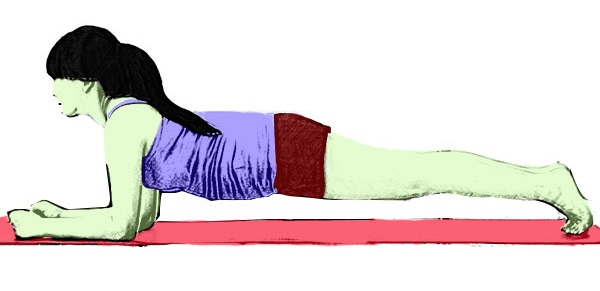
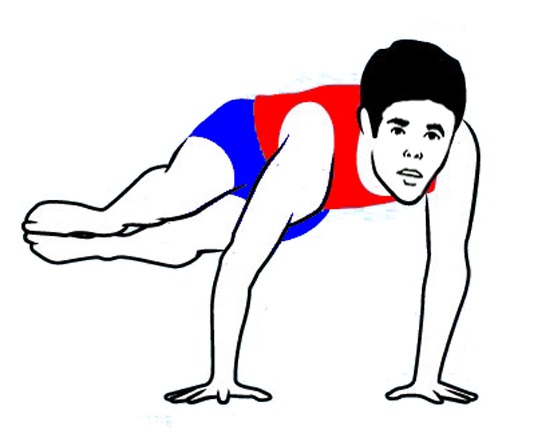
Eight limb pose (Ashtanga Namaskarasana/Astangasana)
In the sixth step, your hands, knees, feet, chest, and chin touches the ground. Along with it is the involvement of eight body parts, this Asana named so.
For steps click: Astangasana
-
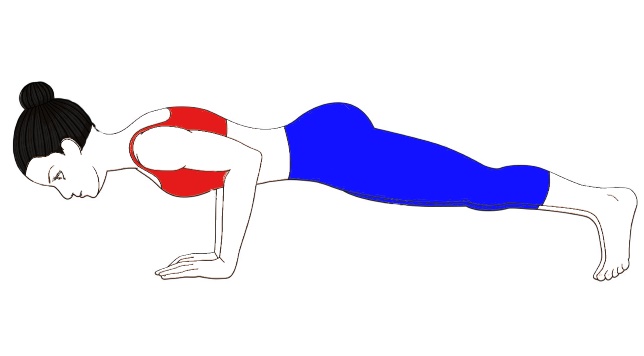
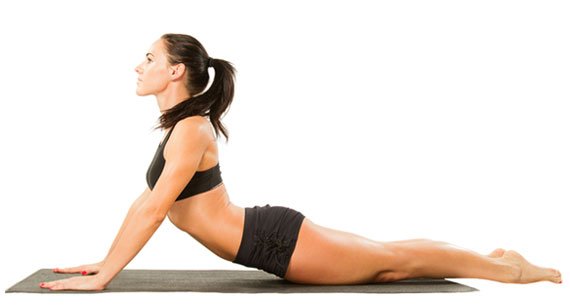
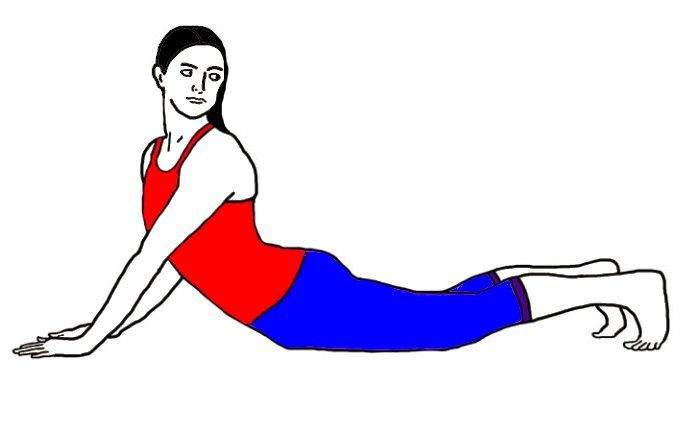
The Cobra Pose (Bhujangasana)
Bhujangasana takes the 7 the position in Surya Namaskar. You have to move your body in the forward direction. Now, lift your chest up with bent elbows. And look towards the roof.
For steps & benefits click: The Cobra Pose (Bhujangasana)
Rests of five steps are the repetition (8th step is Adho Mukha Svanasana, again you have to do The Equestrian Pose in the 9th step, 10tth Pada Hastasana, 11th step of Surya Namaskar is Hasta Uttanasana and in the last step or 12th step and the final pose is Pranamasana) of theses Asana.
NOTE
There are more benefits or Importance of Surya Namaskar in Yoga. But due to the lack of words we mentioned some most important facts of Sun Salutation pose.
We try over level best to provide you the top quality and all the requisite information regarding Surya Namaskar. Your humbleness is appreciated if you ignore the spelling or grammar related mistakes.
We welcomed your suggestion, so feel free to give your suggestion or want to know anything about any Asana.
After knowing the amazing facts about Surya Namaskar. We are sure that you add this unique Asana to your daily routine and embrace the Yoga.
(Always be happy & keep practicing)
The post Importance of Surya Namaskar (Sun Salutation) in Yoga appeared first on Sarvyoga | yoga online | yoga.
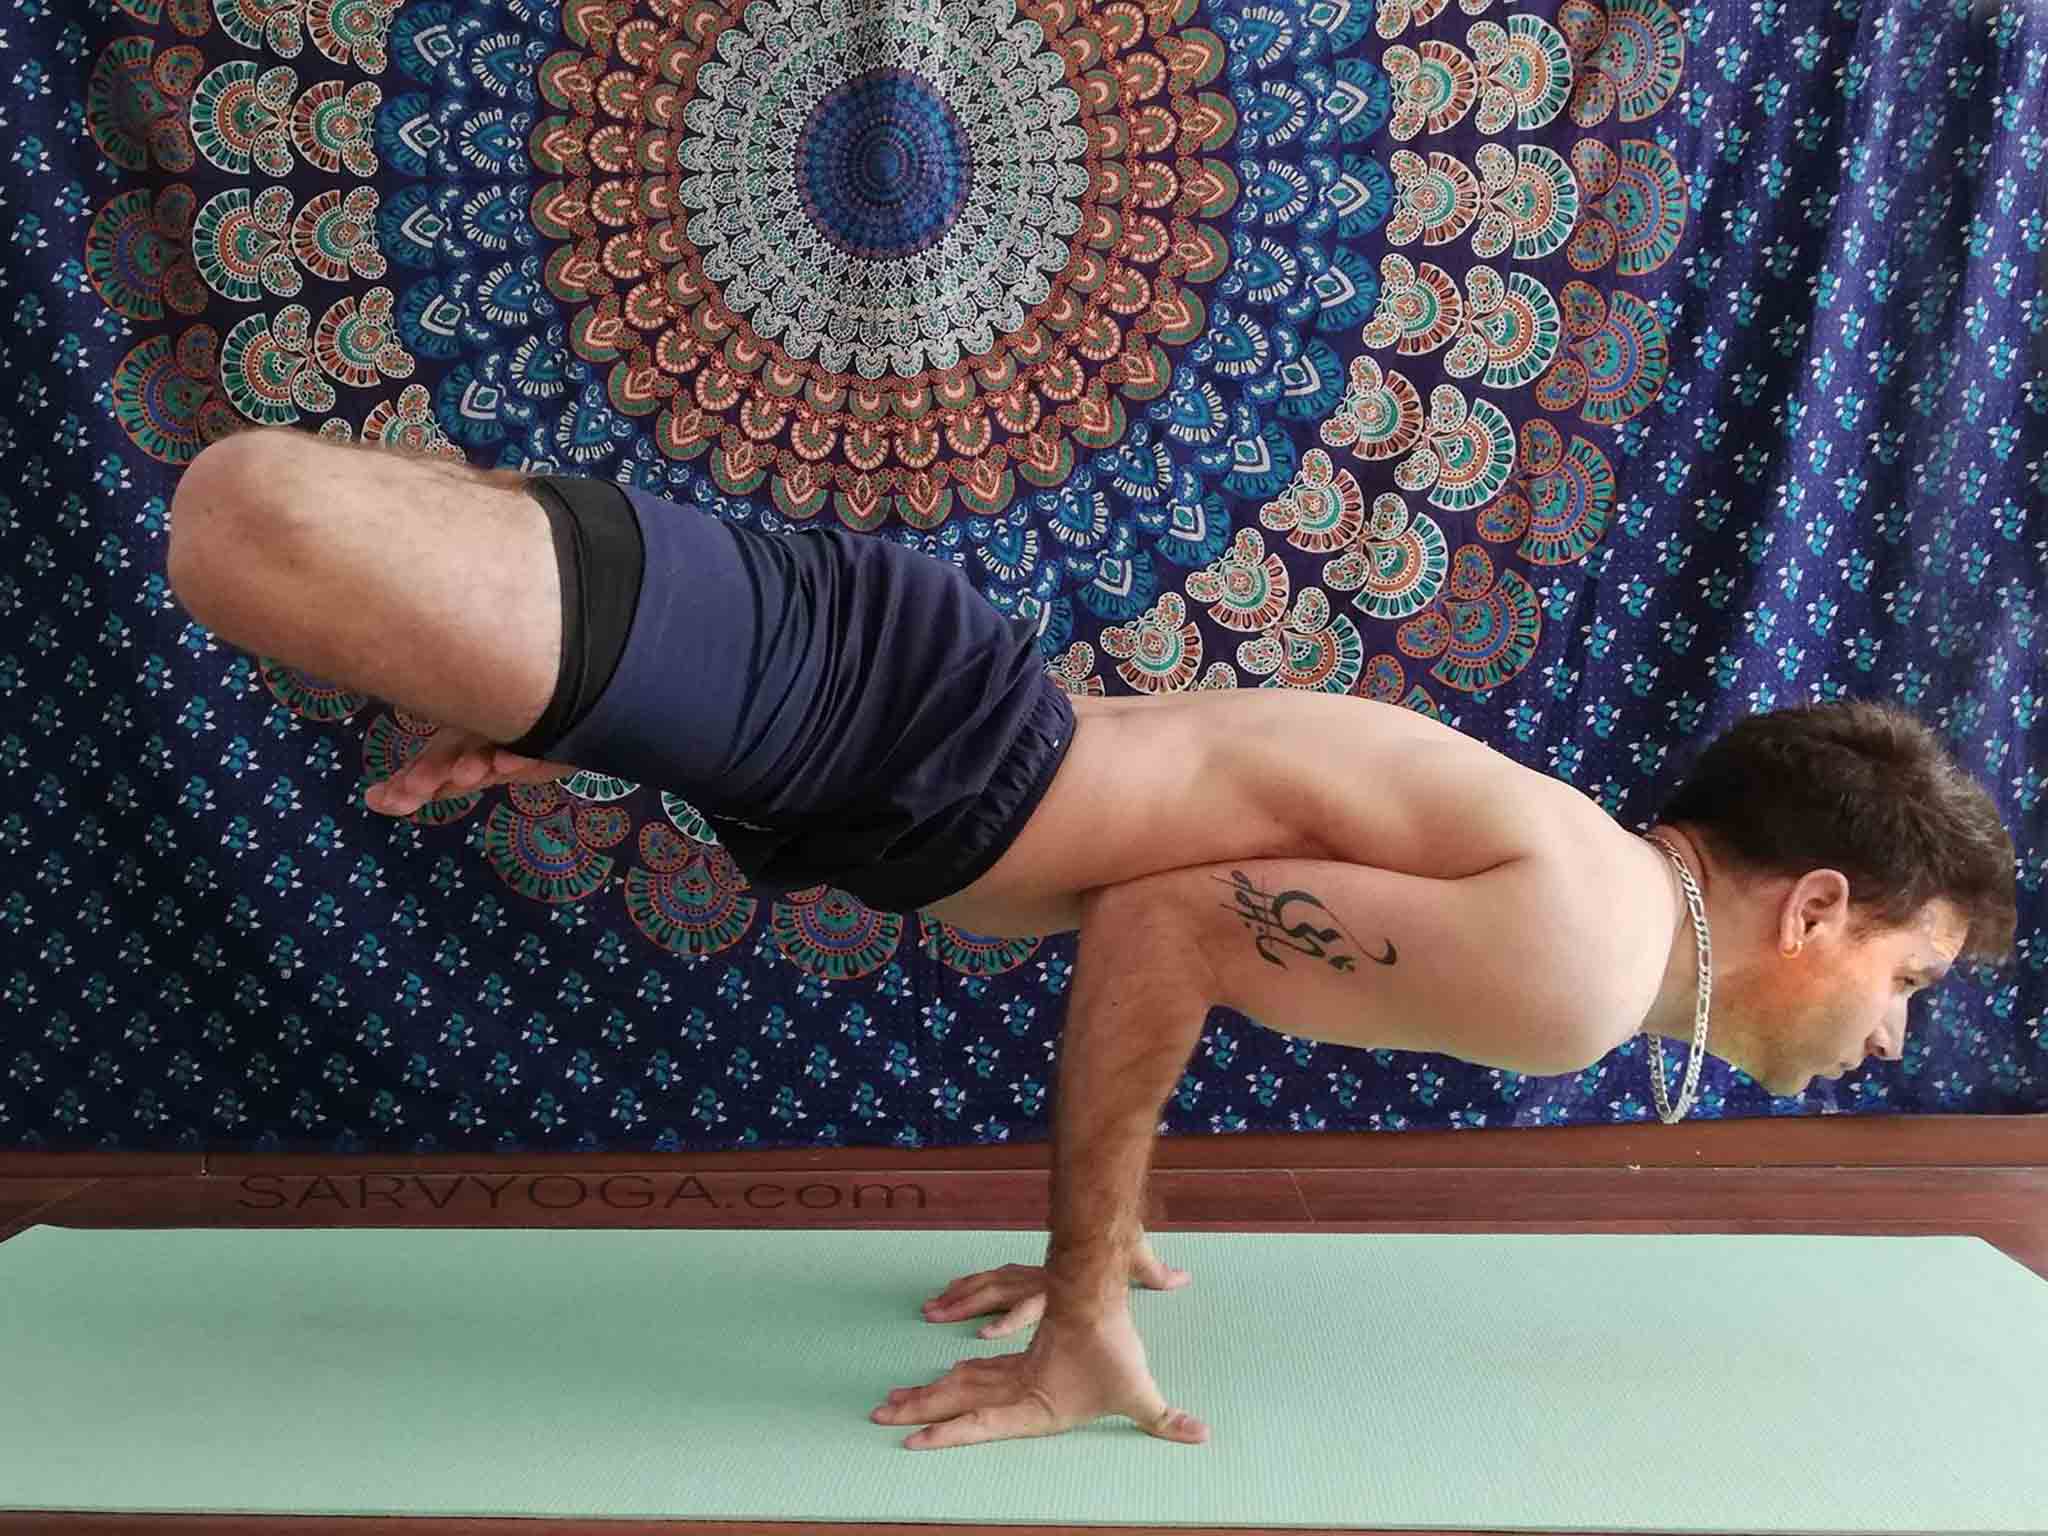 Lotus in Peacock Pose is the excellent combo of Lotus Pose & Peacock Pose. Mean to say that, one Asana gets you the benefits of two Asana. Padma Mayurasana is also famous for curing problems related to digestive system (Improves digestion, kick out impurities from your blood and beneficial in constipation).